Trying to figure out how to plan meals for your first backpacking trip can feel overwhelming—especially when most “advice” is aimed at extreme thru-hikers.

Hi, I’m Aaron…
I’ve been hiking and backpacking for over 20 years—and I plan every one of my trail meals myself. That includes my thru-hike attempts of the Pacific Crest Trail, Appalachian Trail, Colorado Trail, Condor Trail, and Oregon Coast Trail… not to mention countless weekend outings.
I haven’t eaten a commercial freeze-dried meal since 2016—not because they’re “bad,” but because I’ve learned what works best for me on trail, and I want to help you do the same.
I’ve also made all the beginner mistakes—like packing way too much food, forgetting to test meals ahead of time, and bringing unnecessary gear.
You don’t have to do the same!
Table of Contents
- Step 1: Estimate How Much Food to Bring Backpacking
- Step 2: Choose Beginner-Friendly Backpacking Food
- Step 3: Pack Each Day’s Food Separately
- Step 4: Only Pack the Camp Kitchen Gear You’ll Actually Use
- Step 5: Make Notes for Next Time
- Are you new here?
- FAQs: Backpacking Food for Total Beginners
- Final Thoughts: You’ve Got This
Step 1: Estimate How Much Food to Bring Backpacking
You’ll probably read in other blog posts about the “Golden Rule”, that you should plan 2 pounds of food per day. But here’s the truth: that’s a generalization—and can often lead to packing too much or not enough.
I break down why this advice can backfire—especially for beginners—in this short YouTube video about the Golden Rule for a quick explainer.
Every hiker and every hike is different. What a 25-year-old thru-hiker on the Appalachian Trail needs to eat is very different from what a 65-year-old on an overnight trip with their grandkids needs to eat.
Because of this, be wary of what you read on blogs and social media. How much food to bring backpacking should be tailored to you and your unique adventures.
A better approach?
Plan for 3 meals per day, plus snacks every 2 hours between meals. That’s a realistic, beginner-friendly way to stay energized without overthinking it.
Trail Tip: Pack 1–2 extra snacks—just in case. Better to have them than wish you did when the hike takes longer than expected or hunger hits harder than planned.
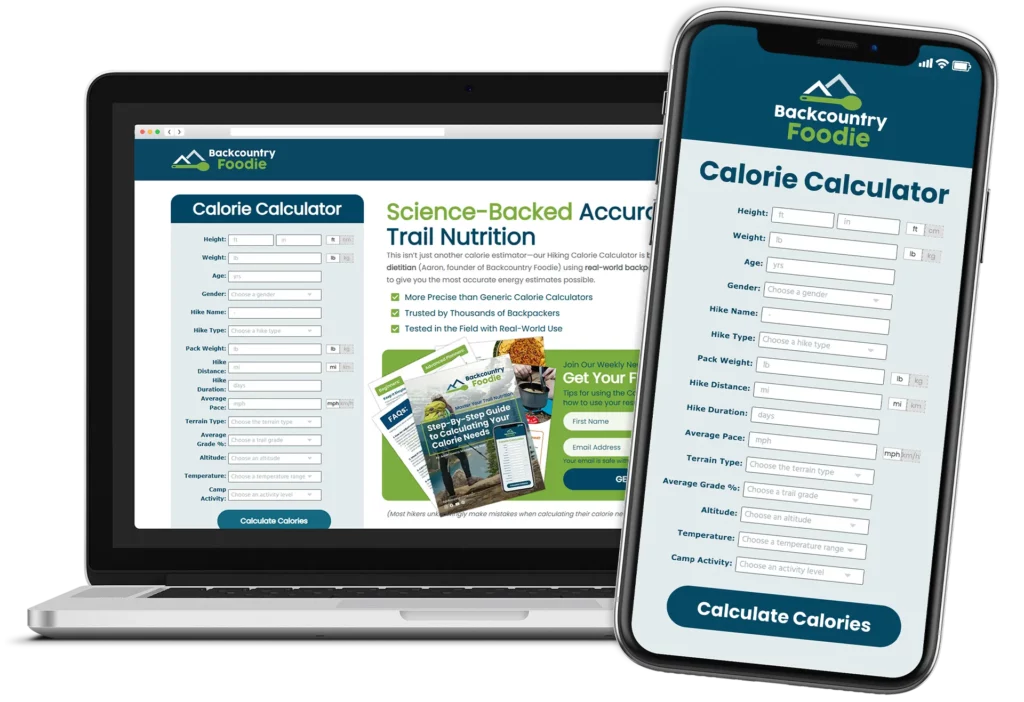
To get a more personalized idea of how much food you’ll actually need for your trip, use our Hiking Calorie Calculator.
Unlike most backpacking calculators, ours was built by a registered dietitian (me!) and specifically designed for hikers.
It factors in your pace, pack weight, terrain, and goals—so you can skip the guesswork and pack with confidence.
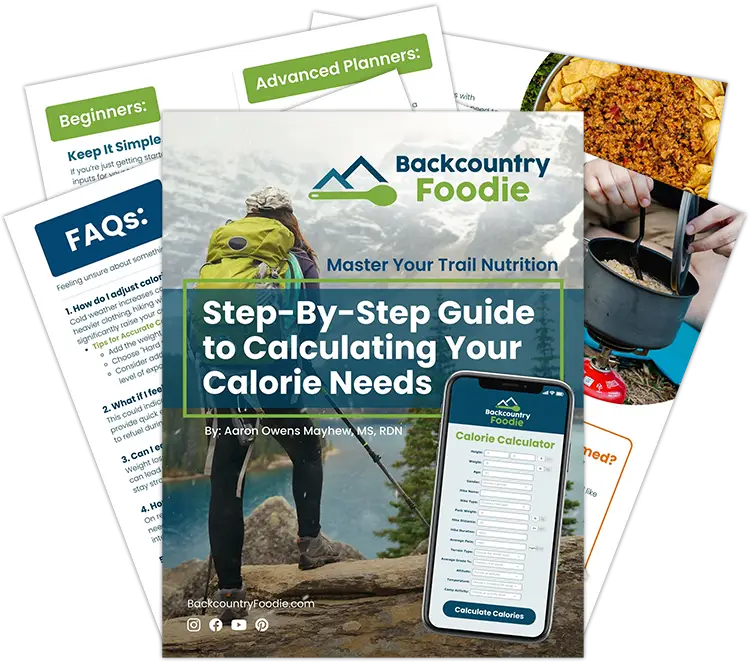
If the hiking calorie calculator feels overwhelming, don’t worry—we’ve got you.
Download the free Step-by-Step Guide that walks you through the calculator in plain language, so you can use it confidently—even if it’s your first time.
If you’d rather not tackle it all at once, we’ve got you covered there, too.
When you download the hiking calorie calculator guide, you’ll also get a short email series with step-by-step tips on how to turn your calorie estimate into a real trail-ready meal plan. It’s like a personal coach—just in your inbox.
Step 2: Choose Beginner-Friendly Backpacking Food
Freeze-Dried Meals
Freeze-dried meals from your favorite outdoor store are an easy place to start. They’re lightweight, shelf-stable, and require almost no cleanup—just add hot or cold water.
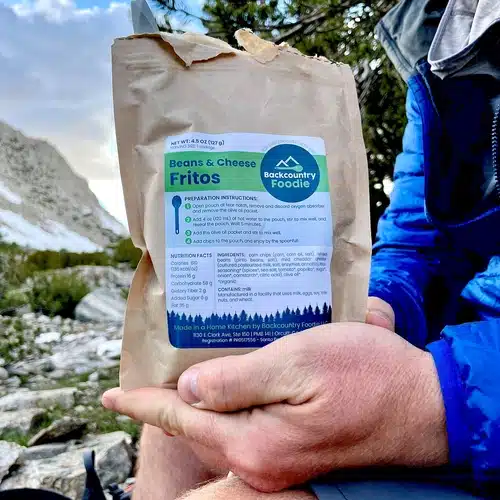
Trail Tip: Don’t buy a meal just because the name sounds tasty—check the prep instructions first. Some require gear (like a skillet!) you might not have.
But before you commit your wallet (and your appetite), test the meal at home first. Open the pouch, scoop out a small portion, and taste it. If you love it—great! If not, maybe a hiking buddy does, and you can swap. No wasted meal, no disappointment on the trail.
Some beginner-friendly freeze-dried backpacking food brands to check out:
Popular & widely available: Mountain House, Backpacker’s Pantry, Peak Refuel
Small-batch & specialty brands: Outdoor Herbivore, Nomad Nutrition
Trail Tip: Try one meal from two different brands to see which you prefer—it’s all about finding your trail favorites.
DIY Backpacking Meals
Prefer a more budget-friendly option? You can build your own easy backpacking meals using basic grocery store staples—no fancy ingredients or cooking skills required. When I first started making DIY meals, I felt totally overwhelmed by gourmet backpacking cookbooks that were way above my skill level. You don’t need all that.
? Start simple with our 100 Favorite Grocery Store Backpacking Foods—it’s beginner-friendly and trail-tested. There’s plenty of time to go gourmet later.
If you don’t eat oatmeal at home, don’t bring it on the trail. Stick with what you know you’ll eat.
Here are some easy, beginner-friendly backpacking meal ideas:
- Breakfast: Instant oatmeal with nuts, granola with powdered milk, protein bars
- Lunch: Tortillas with tuna packets, summer sausage with cheese and crackers, or PB & J sandwich
- Snacks: Trail mix, jerky, fruit leather, gummy bears
- Dinner: Instant mashed potatoes, ramen, couscous, or mac & cheese
Want to try making your own meals? Start with one of our simple backpacking recipes to test at home.
Trail Tip: Test every meal (store-bought or homemade) before packing it for your trip. Nothing’s worse than being hungry and realizing your dinner tastes terrible.
Step 3: Pack Each Day’s Food Separately
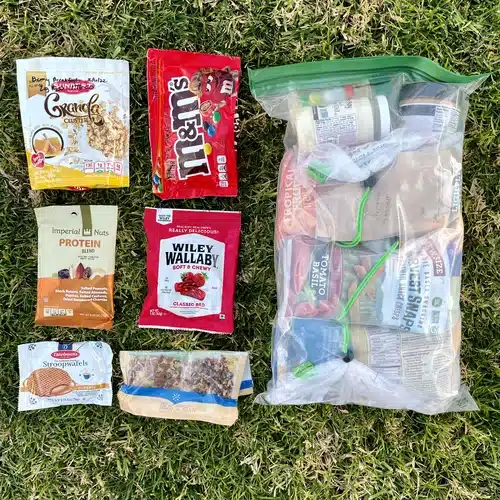
To keep things simple on trail, pack each day’s food in its own gallon-size bag or stuff sack. For a more environmentally-friendly option, mesh produce bags worked great!
That way, when dinner time rolls around, you’re not rummaging through a jumbled food bag while you’re tired and hungry. You already spent the time at home deciding what to eat each day—why toss all that planning into a chaotic bear bag?
✅ One bag = one day of meals and snacks
✅ Easy to grab and go each morning


Trail Tip: Pack your food bags in the bear bag in reverse order—last day on the bottom, working up to your first day on top. Then keep that day’s bag at the top of your backpack where it’s easy to reach for meals and snacks throughout the day.
Did I really pack an entire bag of M&M’s?
No. Instead of using new plastic bags, I repurpose snack and ingredient packaging—like this M&M’s pouch—to cut down on waste.
Here’s a sample 2-day beginner meal plan using grocery store foods:
Day 1
- Breakfast: Granola + powdered milk
- Lunch: Tortilla + tuna packet + mayo packet
- Snacks: Trail mix, protein bars, sour gummies
- Dinner: Instant mashed potatoes + ramen noodles + olive oil packet (aka The Ramen Bomb!)
Day 2
- Breakfast: Instant oatmeal + peanut butter
- Lunch: Crackers + string cheese + jerky
- Snacks: Dried fruit, chocolate bar, trail mix
- Dinner: Ramen + dehydrated veggies + peanut butter packet + soy sauce packet (aka Hiker Pad Thai!)
Trail Tip: Keep a few snacks in your hip belt or side pocket so you don’t have to dig into your food bag every time hunger hits.
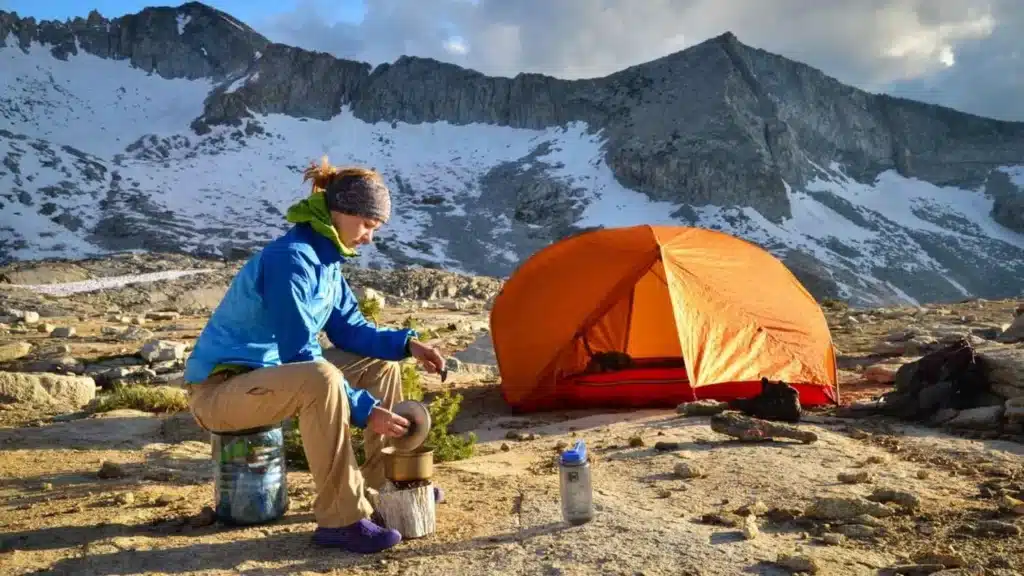
Step 4: Only Pack the Camp Kitchen Gear You’ll Actually Use
You don’t need a fancy camp kitchen for your first trip. Keep it simple and bring only what you’ll truly need to make meals on the trail.
Here’s a solid beginner setup:
- Long-handled spoon or spork – Any brand will do.
- Small backpacking stove with a pot – The JetBoil systems are great beginner-friendly stoves.
- Fuel – The 100-gram canister is more than enough.
- Lighter or matches
- Cup (optional—for coffee, tea, or hot chocolate) – There are oodles to choose from.
- Most meals can be eaten straight from the pouch or freezer bag—no plates or bowls required.
- Adding hot or cold water to the bag is often called “Freezer Bag Cooking” or “Cook in the Bag”.
- It’s safe to pour boiling water into freezer bags labeled BPA-free and freezer-safe—just handle with care to avoid burns.
- Always hold the bag from the top or use an insulated food cozy to protect your hands.
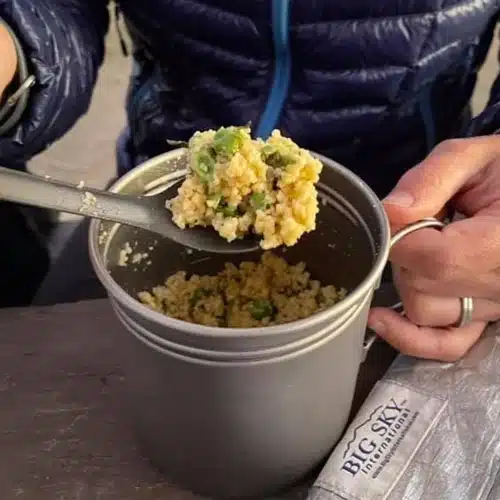
- Eating straight from your cook pot is a simple, environmentally friendly alternative to single-use plastic bags.
- While freezer bags offer zero cleanup, cook pots help reduce plastic waste and are perfect for hikers looking to minimize their environmental footprint.
- Just be sure to learn how to Leave No Trace by properly disposing of the dirty water while cleaning your pot.
Bonus: Those zipper-top bags used to store the meal can be rinsed and reused for future meals!
Trail Tip: Make one full trail meal at home using only the gear you plan to carry. It’ll help you feel more confident and troubleshoot before you’re deep in the backcountry.
Don’t make the same mistake I did…
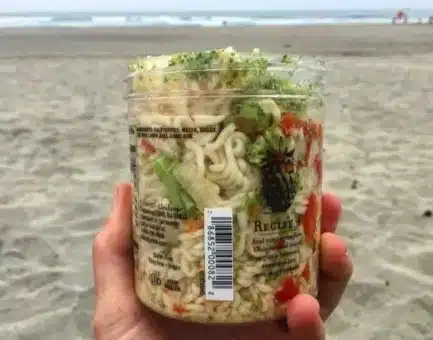
I learned the hard way on my Colorado Trail thru-hike…
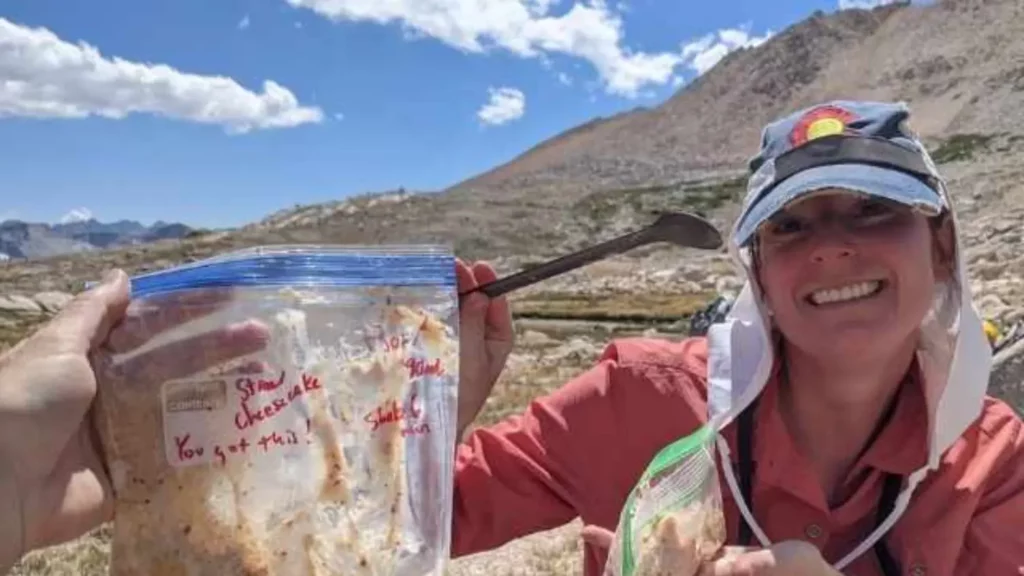
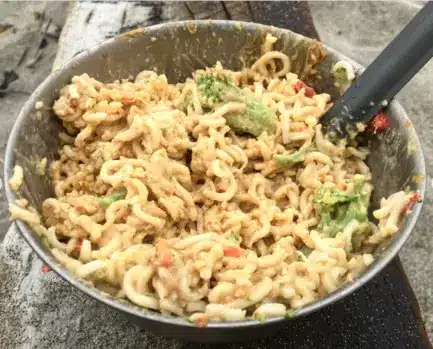
I packed a cold soak meal in a Talenti jar without testing it first. The noodles expanded so much that I couldn’t mix in the sauce without dumping it into a separate bowl (which, thankfully, I had brought). That meant washing two containers instead of one.
Moral of the story? Practice meals at home before heading out—they don’t always go as planned. Even experienced backacking dietitians make mistakes.

Step 5: Make Notes for Next Time
Every trip teaches you something—so don’t waste what you’ve learned.
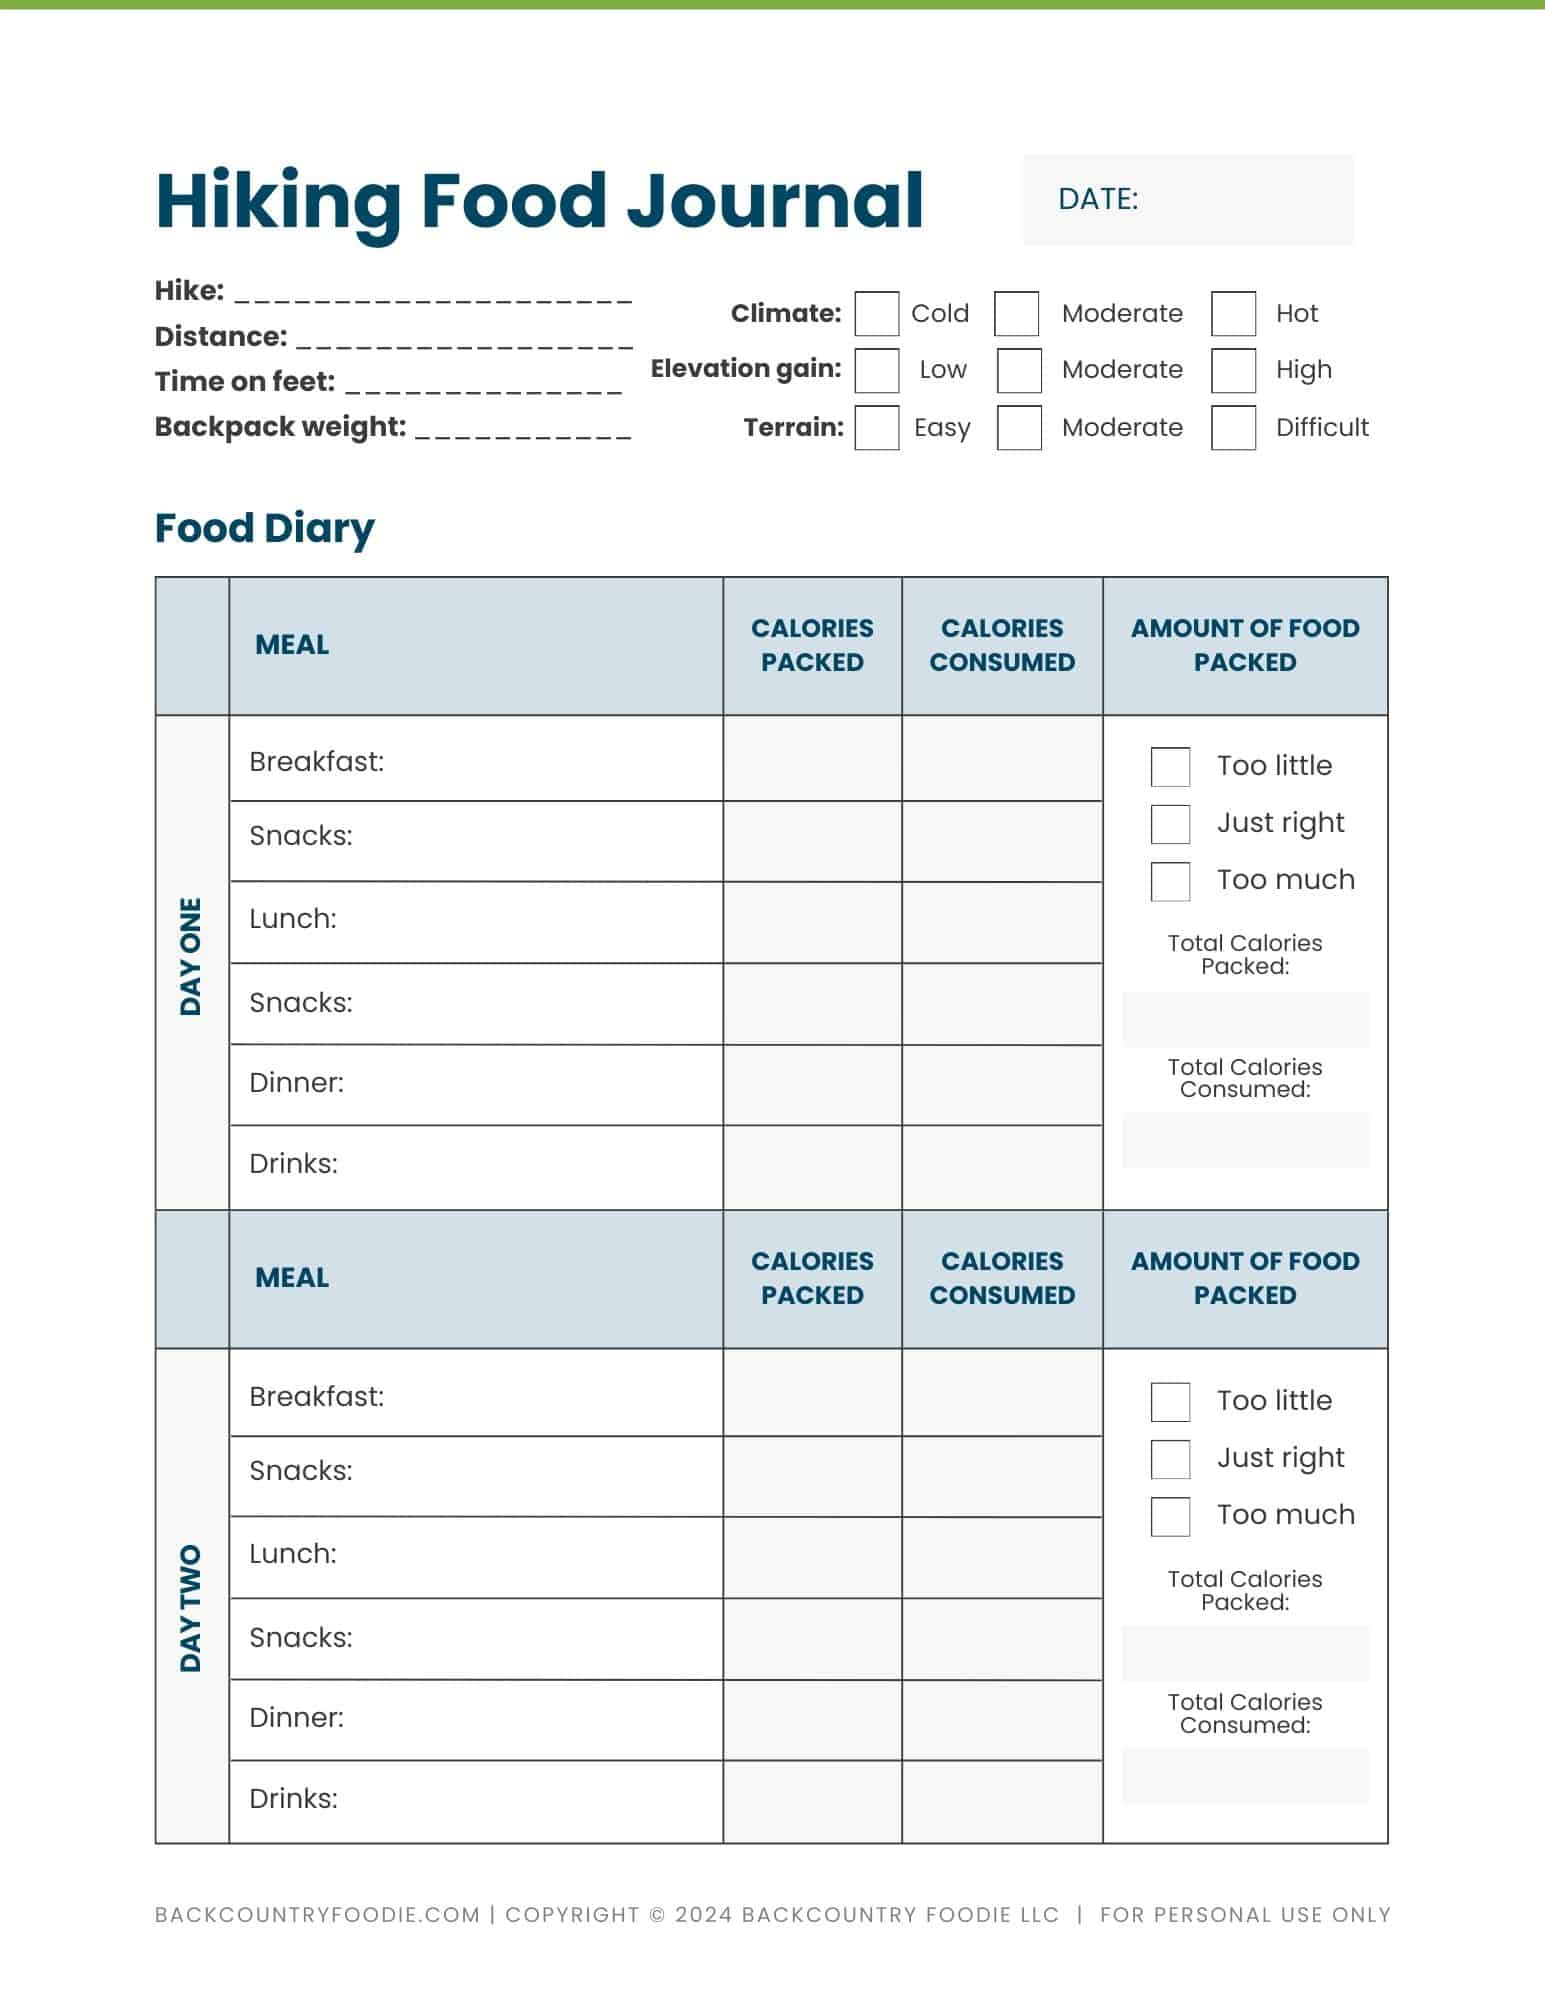
You can download your own copy of my hiking food journal on our FREE DOWNLOADS page.
After your hike, take a few minutes to jot down:
- What meals or snacks did you love?
- What didn’t get eaten and why?
- What you wish you had more (or less) of?
- What would you do differently next time?
You’ll thank yourself when it’s time to prep for your next adventure.
This is also the perfect time to review your hiking calorie calculator results and make changes for future trips.
Trail Tip: Snap a photo of each day’s food before you head out. It’s a quick, visual way to remember what worked (and what didn’t).
Are you new here?
Want help creating your own backpacking food notes and refining your meal planning for next time?
Sign up for our persona-based newsletter as a “Trail Fox” and we’ll send you a variety of downloadable tools to make future meal planning a breeze.

FAQs: Backpacking Food for Total Beginners
Start with 3 meals per day plus enough snacks to eat something every 2 hours. Everyone’s needs are different, so use our Hiking Calorie Calculator to get a more accurate estimate.
Nope! A lightweight backpacking stove, a small pot, and a long-handled spoon or spork are all you need for most beginner meals. Check out the Camp Kitchen Gear section for more details.
Not at all. Freeze-dried meals are convenient, but simple grocery store foods—like instant mashed potatoes, ramen, or tuna packets—are great for beginners and often more budget-friendly. Check out the How to Choose Beginner Backpacking Foods section to learn more.
It happens to everyone, especially on your first trip. Keep notes on what you ate and what you didn’t, then adjust next time. You’ll get better with each hike. Check out the Make Notes for Next Time section to prevent this from happening on future trips.
Bring a resealable freezer bag for wrappers, used pouches, and food waste. Follow Leave No Trace principles—everything you pack in, you pack out. I’m a fan of using quart-size odor-proof zipper-top bags to prevent food waste odors from being absorbed by my pack and clothing. The bags are washed and reused trip after trip.

Final Thoughts: You’ve Got This
Planning food for your first backpacking trip doesn’t have to be complicated.
Keep it simple. Choose food you actually like. Plan one day at a time.
Sign up here to get our beginner-friendly email series and free food planning guide. You’ll learn how to use our hiking calorie calculator, build your first meal plan, and feel confident about how much food you bring backpacking.
Now go enjoy your trip—and don’t forget the snacks.
Did you enjoy this post?
Pin it and share it with your fellow hikers…