

Why Go Stoveless? The Cold Soaking Secret Every Backpacker Should Know
Want to ditch your stove but still eat well on the trail? This guide explains how to cold soak backpacking meals, which foods actually work, the best containers to use, and mistakes to avoid. Plus, we’ll share six favorite recipes you can try right away.
Table of Contents
- Why Go Stoveless? The Cold Soaking Secret Every Backpacker Should Know
- What Is Cold Soaking? (And Why Backpackers Swear by It)
- Best Cold Soak Foods and Rehydration Times
- Benefits of Stovless Backpacking Meals
- The Downsides: Is Cold Soaking for Everyone?
- The Best Cold Soak Containers
- What Foods Work Best for Stoveless Backpacking Meals?
- Foods That Don’t Cold Soak Well
- Cold Soaking Mishaps (and What They Taught Me)
- FAQs About Cold Soaking
- Free Cold Soak Recipes
- Conclusion: Hike Lighter, Hike Freer
What Is Cold Soaking? (And Why Backpackers Swear by It)
Cold soaking is the process of rehydrating dehydrated or freeze-dried food with cold (or ambient) water instead of hot water. After soaking anywhere from a few minutes to a couple of hours, your food softens into a ready-to-eat meal—no stove required.
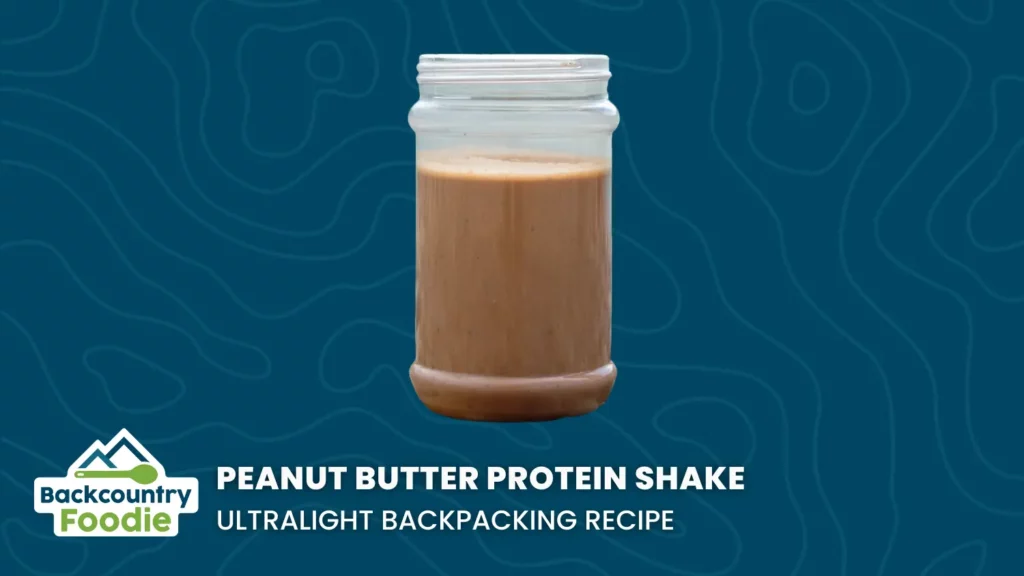
Many backpackers are already cold soaking without realizing it. Instant oatmeal, chia seed pudding, and protein shakes? All cold soak classics!
Best Cold Soak Foods and Rehydration Times
These are the best foods for cold soaking backpacking meals, with typical rehydration times.
- Couscous → 5–10 minutes
- Instant mashed potatoes → Instant
- Dehydrated refried beans → 20 minutes
- Chia seeds → 15 minutes
- Oats → 30–60 minutes
- Dehydrated instant quinoa → 30–60 minutes
- Instant crisped quinoa → 30–60 minutes
- Dehydrated garbanzo beans → 90–120 minutes
- Instant hummus mix → 1 minute
- Ramen noodles → 20–30 minutes
- Instant rice noodles → 45-60 minutes
Benefits of Stovless Backpacking Meals
✔ Lighter pack
- Leaving the stove and fuel behind can trim over a pound from your base weight.
✔ Fuel-free freedom
- No stress about running out of fuel mid-trip.
✔ Faster mealtime
- Just soak while hiking, and your meal is ready to eat when you’re ready to take a break.
✔ Wildfire safety
- Perfect in areas with fire bans.
✔ Low scent
- Cold meals emit fewer food odors, reducing unwanted attention from wildlife.
Inspired by the trail wisdom of Heather “Anish” Anderson, many thru-hikers truly believe that every ounce matters—and that going stoveless with cold soaking can be a game-changer for ultralight hikers.
The Downsides: Is Cold Soaking for Everyone?
Not so fast—this method isn’t without trade-offs.
- Meals are eaten cold (which can be less appealing in chilly weather).
- Requires planning ahead (meals need soak time before eating).
- Some foods simply won’t rehydrate well (like regular pasta or rice).
Pro Tip: If you’re unsure, try cold soaking just breakfast and lunch while still bringing a stove for dinner.

The Best Cold Soak Containers
Your container is your “stove.” It needs to be lightweight, leakproof, and the right size.
There are many durable, inexpensive, and lightweight options:
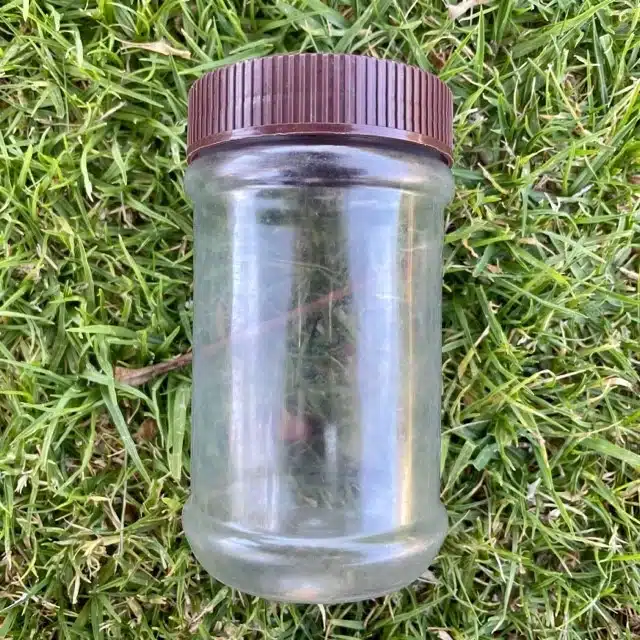
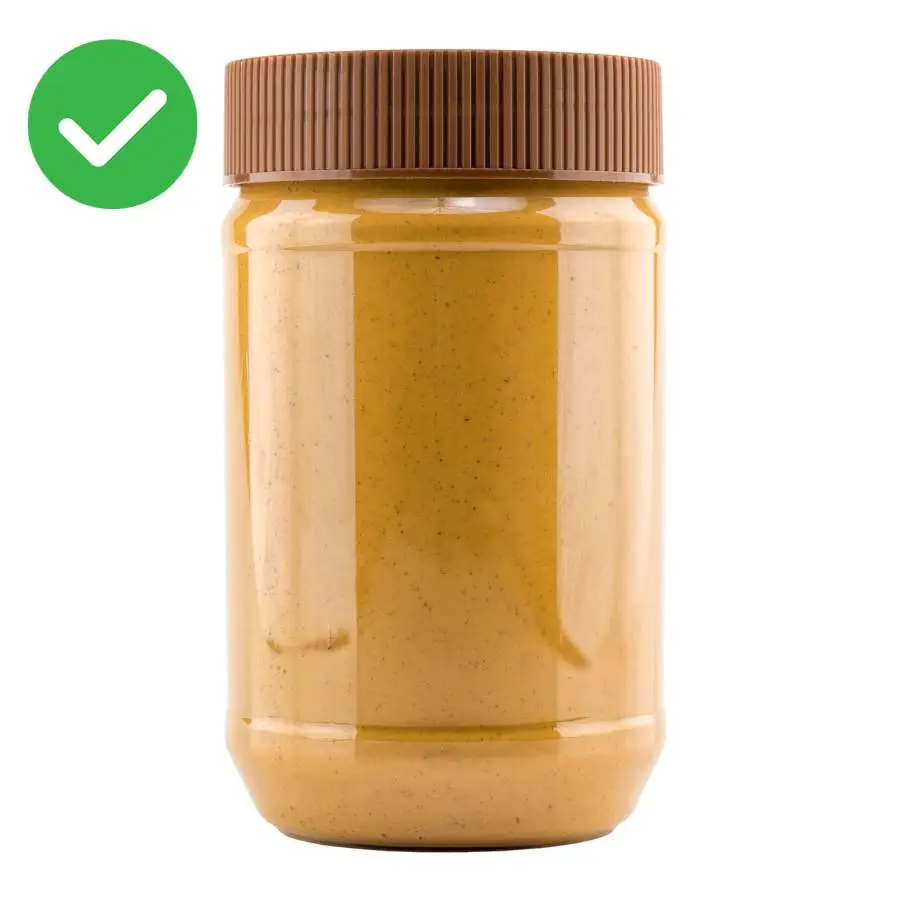
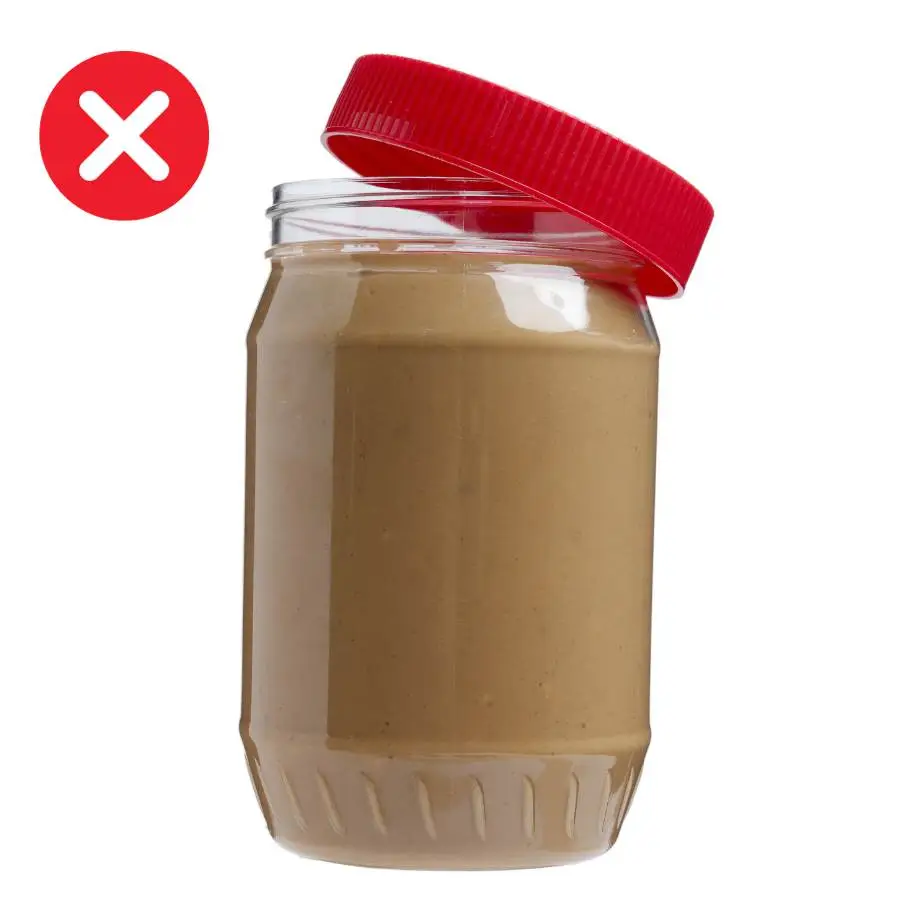
Peanut Butter Jar
Weight: ~2 oz, depending on the size of the jar
Volume: ~750 mL, depending on the brand
Cost: $2.50 – $6, depending on the brand
Benefits: Environmentally friendly (you’re reusing a container). Slightly easier than other containers for drinking beverages
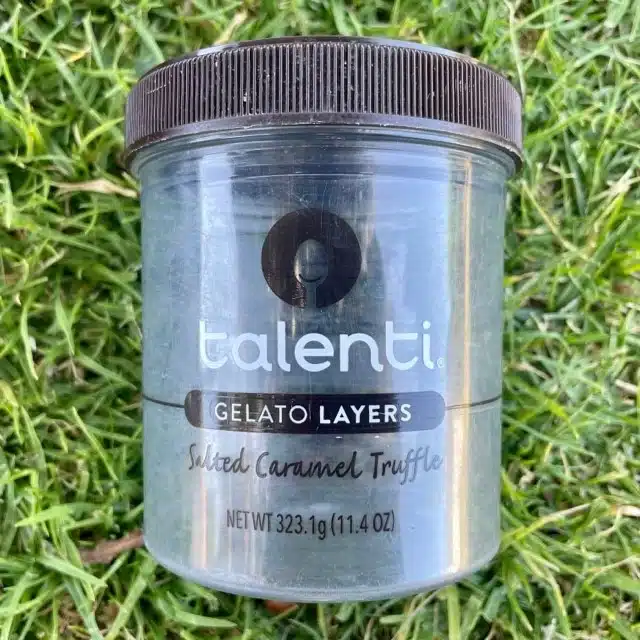
Talenti Jar
Weight: 1.9 oz
Volume: 473 mL
Cost: $5.00
Benefits: Environmentally friendly. Wider opening compared to a peanut butter jar. It’s a great excuse for eating gelato!
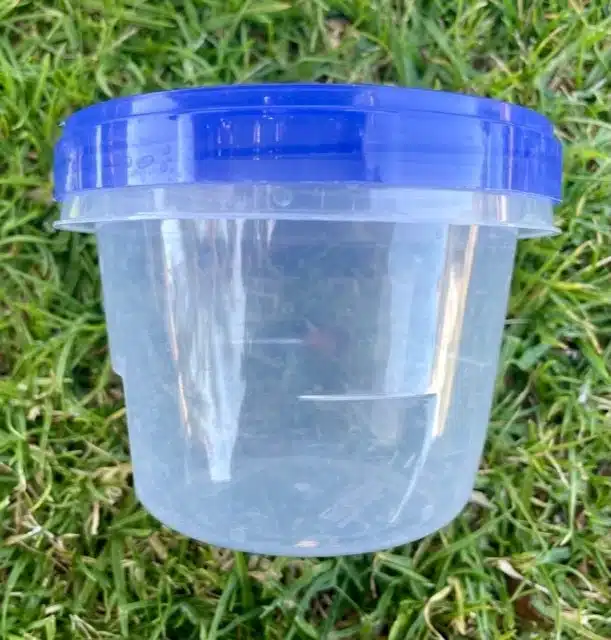
Ziplock Twist n’ Loc
Weight: 1 oz
Volume: 437 mL
Cost: $3.00 for a pack of 3
Benefits: Wide opening. Easy to clean. Inexpensive.
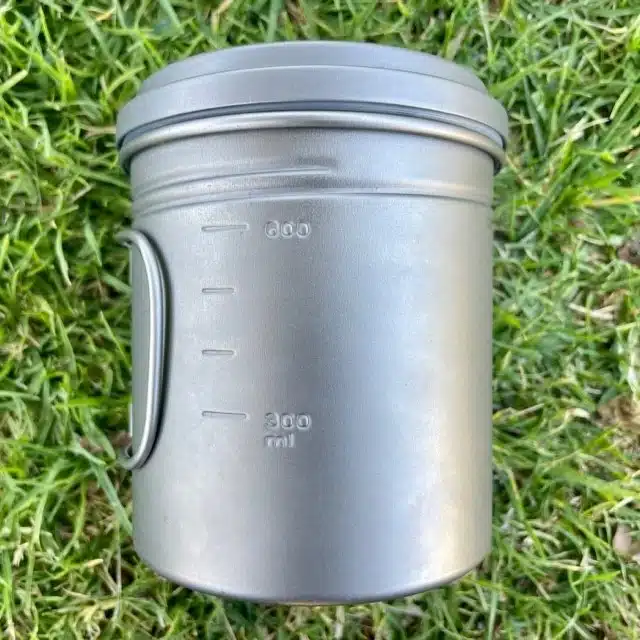
Vargo Bot Titanium Pot
Weight: 4.8 oz
Volume: 700 mL
Cost: $99.95
Benefits: Serves dual purpose – Use it as a cooking pot and a cold soaking jar if you only want to cold soak some of your meals.
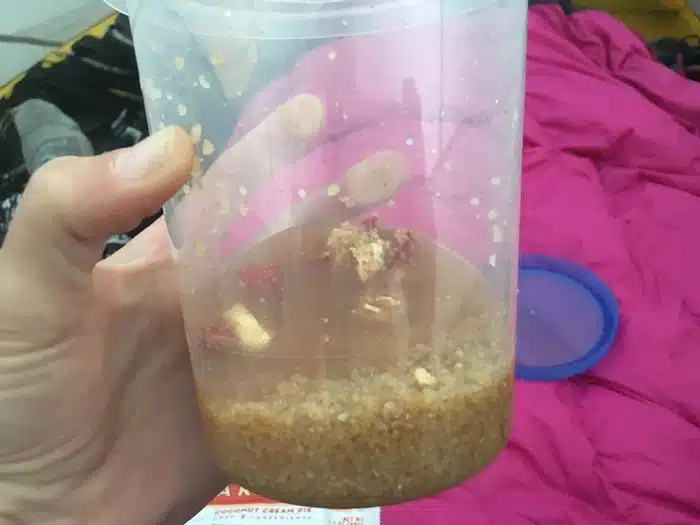
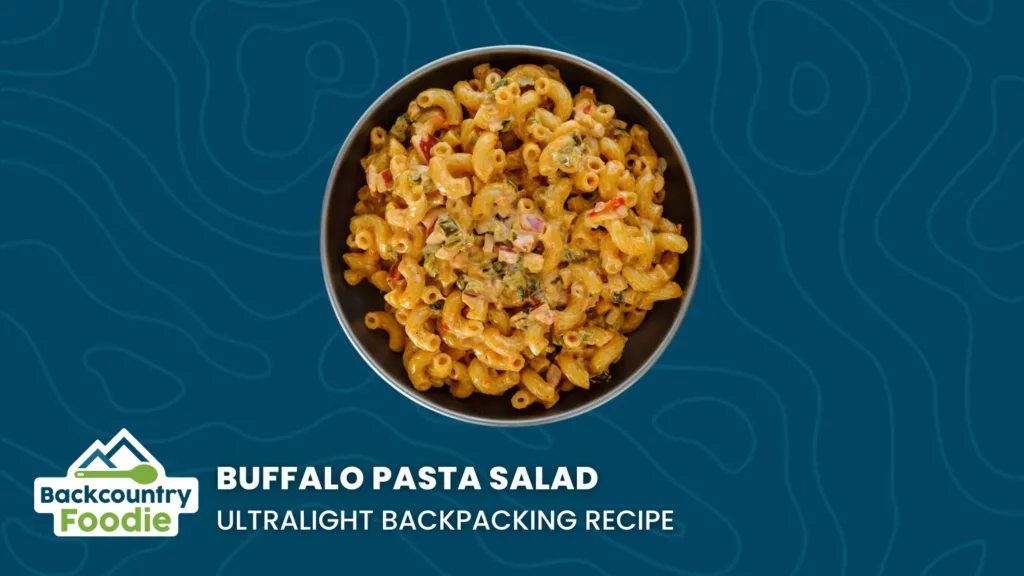
Pro Tip: Testing cold soak meals at home with the container you plan to use is a crucial step. See the images below for an example of a container that's almost too small.
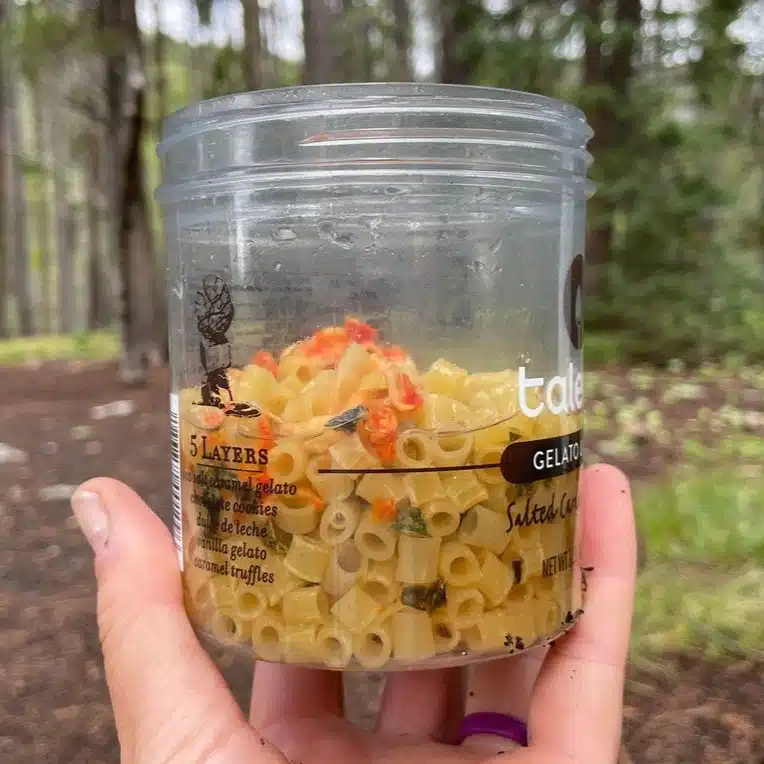
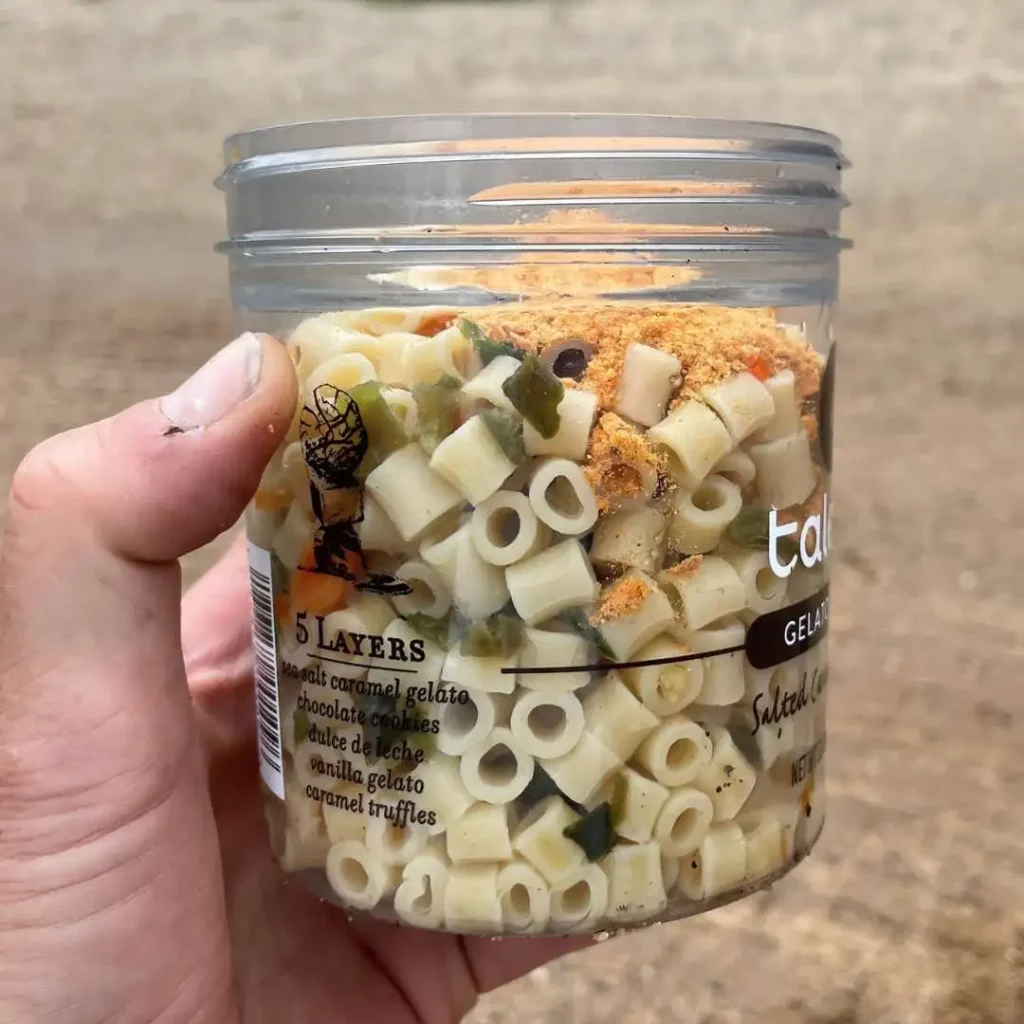

As you can see in the images above, stirring the meal can get messy if there’s not enough room in the jar after it rehydrates. We recommend practicing at home with new meals or packing an extra bowl if the jar is not large enough. This is our cold soak Buffalo Pasta Salad recipe if you’re interested in giving cold soaking a try.
Pro tip: Avoid jars with ridges at the bottom—they’re tough to clean. Make sure your hand fits inside for easy scrubbing.
What Foods Work Best for Stoveless Backpacking Meals?
Some foods rehydrate beautifully in cold water. Here are trail-tested favorites with rehydration tips:
| Food | Tips |
| Ramen noodles | Breaking up the noodles will speed up the rehydration process |
| Rice ramen noodles | Breaking up the noodles will speed up the rehydration process |
| Pre-cooked, dehydrated pasta | Small shapes will rehydrate faster |
| Instant mashed potatoes | Stir really well |
| Hummus mix | Stir really well and add olive oil for more calories |
| Dehydrated refried beans | Break into small chunks or powder using a coffee grinder for the best rehydration |
| Milk powder | To avoid clumps, add a little water first and stir until a paste forms, then add the remaining water. |
| Breakfast shake powder, instant coffee, and other drink mixes | To avoid clumps, add a little water first and stir until a paste forms before adding the remaining water. |
| Dehydrated beans, chickpeas, and lentils | Make your own by dehydrating canned beans, or purchase online |
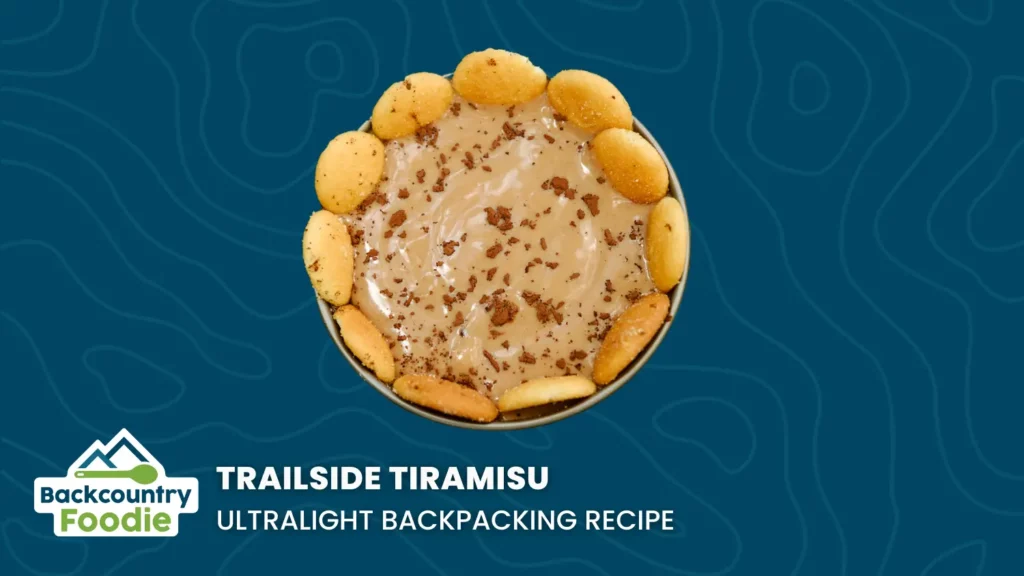
| Instant pudding | Set the container in a cold river, lake, or snow to speed up the thickening process |
| Oats | Make your own by dehydrating canned beans, or purchase online |
| To avoid clumps, add a little water first and stir until a paste forms, then add the remaining water. | Cook & dehydrate your own or purchase online |
Foods That Don’t Cold Soak Well
❌ Regular pasta & rice noodles
- Unless pasta has been pre-cooked and dehydrated, it won’t soften fully in cold water. Standard pasta and most rice noodles stay crunchy, even after hours of soaking. The exception is rice ramen (par-cooked), which softens in 45–60 minutes.
Pro Tip: Look for pre-cooked dehydrated pasta from outdoor food companies like Outdoor Herbivore, or dehydrate your own.
❌ Coconut milk powder
- Coconut milk powder tends to clump in cold water and doesn’t fully dissolve, leaving gritty bits.
Better option: Use MCT oil powder for calories or nut butter packets for creaminess and calories without the hassle.
❌ Dehydrated peas, corn, and carrots
- These veggies partially rehydrate but stay chewy with tough centers. They’re edible, but not pleasant.
Better option: Use freeze-dried versions instead — they cold soak more evenly, and take considerably less time to rehydrate.
❌ Dried meats
- Jerky and other dehydrated meats remain chewy and tough, even after hours of soaking. Freeze-dried meat softens but often has an odd flavor when cold.
Food safety note: Don’t let meals soak longer than 2 hours in warm weather (or 1 hour above 90°F).
Cold Soaking Mishaps (and What They Taught Me)

Cold Soak Chickpeas – Sludge City
Whole chickpeas with skins don’t cold soak well. The skins slip off during soaking, creating a thick, starchy sludge.
If you love chickpeas, the fix is simple: remove the skins before dehydrating, or buy instant dehydrated chickpeas instead. Both rehydrate much better and give you a smoother texture.
Pro tip: Check out our guide to dehydrating chickpeas for step-by-step instructions that make them cold-soak friendly

Couscous Explosion
Couscous expands a lot more than you expect. My Talenti jar almost overflowed on the Oregon Coast Trail. Always leave extra room for foods that swell.
The serving size shown is 1/2 cup of dry couscous, which rehydrates to over 1 cup of wet couscous.
Bulgur Pebbles for Lunch
I thought fine bulgur was ‘instant.’ Turns out, it stayed crunchy even after soaking.
Lesson learned (again): test new foods at home before relying on them for a trip. Outdoor Herbivore’s instant quinoa is a safer bet.
FAQs About Cold Soaking
• Instant, par-cooked, or freeze-dried foods rehydrate best.
• Top choices include couscous, ramen, oats, mashed potatoes, beans, TVP, chia seeds, and freeze-dried vegetables.
• For a full list with recommended soak times, see the Cold Soak Foods and Rehydration Times section in this post.
• Most meals are ready in 15–45 minutes.
• It depends on the food. Instant mixes like mashed potatoes are ready right away, while beans can take up to 2 hours. Most meals are ready in 15–45 minutes.
• See the Cold Soak Foods and Rehydration Times section for a full breakdown.
• Most rice noodles stay crunchy, but rice ramen softens in 45–60 minutes.
• Most rice noodles don’t rehydrate well with cold water and remain chewy. The exception is Lotus rice ramen, which is par-cooked and softens in 45–60 minutes.
• Most commercial meals require boiling water and don’t rehydrate well cold.
• Brands like Mountain House and Good to Go are designed for boiling water and won’t rehydrate properly with cold water.
• Instead, stick to meals labeled for cold prep, such as instant hummus, freeze-dried guacamole, or smoothie packets. Outdoor Herbivore offers several cold-soak options.
1. Place dehydrated food in a leakproof container.
2. Add enough cold water to cover the food.
3. Let it sit 15–60 minutes (longer for beans or grains).
4. Discard any unwanted excess water remaining after soaking.
5. Stir, add seasonings, and eat.
• Yes, but sometimes a hot meal can be a real morale booster, and meals can freeze if not stored properly.
• Cold soaking works in winter, but it’s less pleasant since meals never warm up.
• To keep food from freezing, store your soak jar in the middle of your pack, inside a sealed Ziploc bag (odor-proof is best in bear country) in case of leaks.
• You can learn more about meal planning for cold temps in our How to Eat in Extreme Backpacking Conditions post.
• Yes, as long as you follow basic food safety rules.
• Avoid soaking meals longer than 2 hours (or 1 hour if above 90°F) and never save leftovers.
• For best results, stick with vegan cold soak meals and add proteins like dairy products, tuna, or chicken packets right before eating.
• The best container is leakproof, lightweight, and the right size for your meals.
• Popular choices include Talenti jars, peanut butter jars, Ziploc Twist n’ Loc containers, and titanium pots like the Vargo Bot.
• For pros and cons of each, see the Best Cold Soak Containers section in this post.

Free Cold Soak Recipes
Want to see cold soaking in action? Try these free recipes on our blog:
Did you enjoy this post?
Pin it and share it with fellow hikers.
Conclusion: Hike Lighter, Hike Freer
Cold soaking isn’t just about eating cold food—it’s about freedom. No stove to carry, no fuel to run out of, no fire risk to manage. Just simple, nourishing meals that let you focus on the trail ahead.
Ready to take the guesswork out of stoveless meal planning? Join the Backcountry Foodie Recipe Membership to access over 250 dietitian-created backpacking recipes, including dozens of cold soak options. Hike lighter, eat better, and fuel your adventure.


12 Comments
What Freeze Dried meals taste best cold? I did a chicken meal and found it very tasty. I decided to never cold soak in my lifetime. Then I ran out of fuel.
Great question. However, I’m not the best person to ask about brand names, as I haven’t eaten a commercially freeze-dried meal since 2017. I’ve been making all of my meals since then. Generally speaking, my preference for cold soaking is to choose meals that are typically consumed cold when prepared fresh. For example, cold pasta salad (yum!) vs cold beef stew (yuck!). Although it also comes down to personal preference. Some hikers don’t mind eating “hot” meals cold. Something else to keep in mind is the preparation instructions. If the instructions say to simmer the meal for “x” minutes, it likely won’t cold soak very well because the meal needs to actually be cooked. Hope that helps a little.
Thanks for the recipes. I will try them out. I started cold soaking breakfasts in the summer. I am using Chef Corso’s Power Chia Bomb recipes. It is a lot of calories and I have found that I’m not hungry for a mid-morning snack. This is compared to when breakfast was two oatmeal or two grits packets.
If coconut milk powder doesn’t work well, are there any other alternatives for vegans?
Great question! Cashew milk and soy milk powders are my go-to for cold soak vegan options. They both mix well with cold water and provide the carbs and protein hikers need. My favorite brand for cashew milk is Z Naturals. Do NOT buy the vanilla-flavored powder. It has a terrible aftertaste! My favorite soy milk brand is NOW Brand, but it’s often sold out. I’ve found other soy milk powders can have a strong “sour” taste. Almond milk powder is another option, but it is harder to find and more expensive. Oat and rice milk powders are also options, but they don’t provide the protein I shoot for when creating recipes. Hope that helps.
Does anyone know if Barilla or Banza Chick Pea/Lentil pasta is suitable for cold soaking? I’m also curious as to whether or not anyone has tried RightRice?
I cold soaked RightRice today! I used Backcountry Foodie’s cashew curry couscous recipe but substituted RightRice for the couscous and skipped the EVOO. I soaked for about 2 hours (don’t know if it needed that long, but that’s just how it worked out) The texture and taste were great! I will definitely do this again.
Great article. Not sure what my plans are yet. But they will be in 2 more years. Thanks for the introduction to a different ideology.
Do you just rinse out the cold soak container? Won’t the little bit of food residue (left unless you use soap and scrub) start growing bacteria in the time between meals? This would concern me during the hot summer.
I carry a small eye dropper bottle with biodegradable soap. Add a few drops of soap and about an ounce of water to the cold soak jar. Close it up and let it “swish” itself clean while I’m hiking. When I need the jar again, it just needs a quick rinse, and it’s ready to use.
Hi Aaron, call me Zorro. I was disappointed to learn that boxed mac and cheese was not able to be cold soaked. Would you recommend that pre cooked and dehydrated pasta be cold soaked ,
and powdered cheese then be added, or do you have a better idea? PS. Great article.
Hi Zorro. Apologies for the delayed response. I was finally able to test the mac and cheese powder with a cold soak meal. To my surprise, the powder rehydrates easily with cold water. Yes, I would rehydrate the precooked pasta, discard any excess water and then add the cheese powder if preparing as a cold soak meal.