
Chickpeas are versatile, healthy, and easy to love. You can eat them as dips, taco fillings, in soups, and in salads. They are a good source of carbohydrates and fiber. Furthermore, they are high in protein and form a complete protein when eaten with grains. This makes them a perfect foundation for plant-based diets. Most importantly, they rehydrate easily and taste great on the trail. With a few tips, you can successfully dehydrate or freeze-dry chickpeas to use in your favorite backpacking meals.
What forms of chickpeas (garbanzo beans) can you dehydrate or freeze-dry?
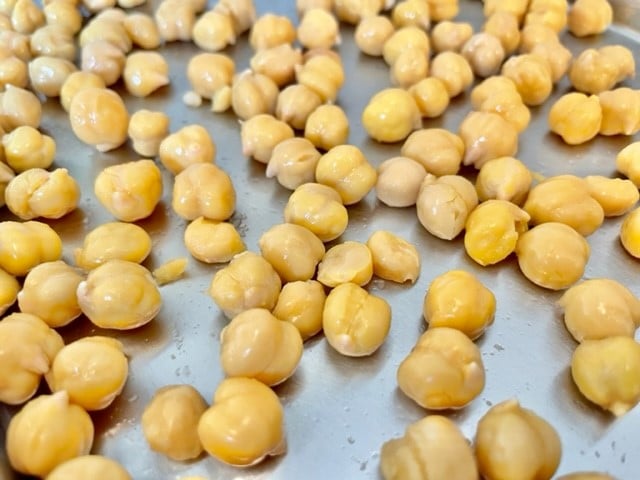
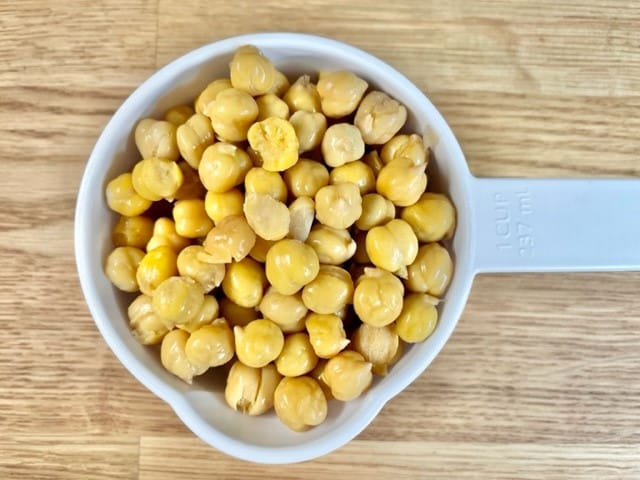
You can dehydrate any plain, canned chickpeas. However, extra sugar and other ingredients may affect the final product if they are seasoned or flavored. Canned chickpeas do not have to be cooked before dehydrating.
You can also dehydrate raw chickpeas after cooking them at home. Soak them in water overnight to reduce the cooking time. Replace the water and simmer for 60-90 minutes until tender.
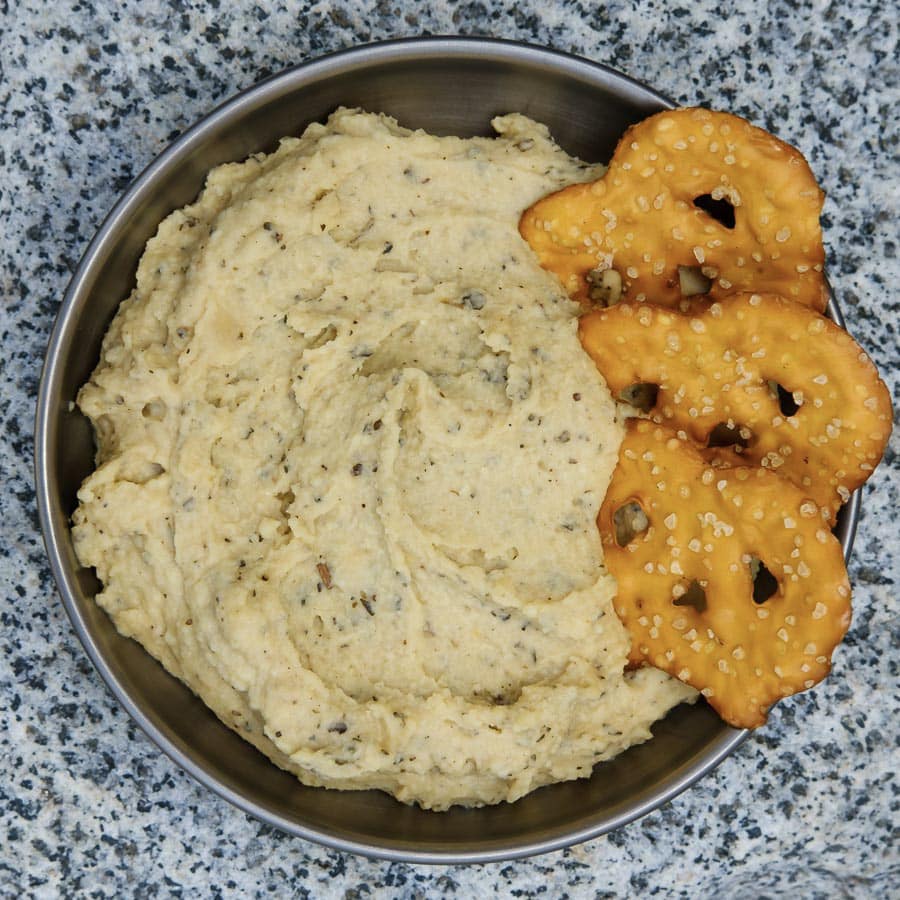
You can dehydrate whole chickpeas, but lightly mashing them first (just enough to break the skins) can be helpful. Fully mash them or puree if you’re aiming for a creamy, consistent product like hummus. Pureed and powdered chickpeas are well-suited for cold soaking.

How do you dehydrate or freeze-dry chickpeas?
Step One: Prepare the chickpeas for drying.
- Drain the cooked or canned chickpeas.
- Leave whole, mash, or puree.
PRO TIP
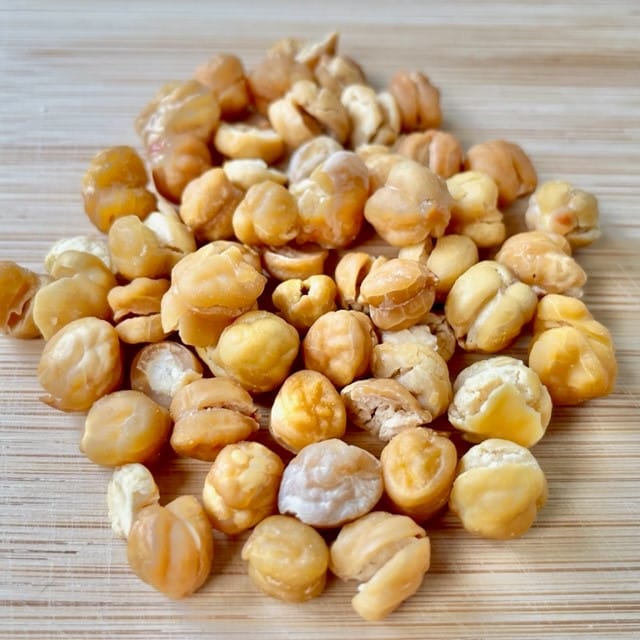
Removing the skins before drying greatly improves the quality of the final product. If skins are not removed, they will separate from whole chickpeas during rehydration, creating a “sludge.” The rehydrated product will have a somewhat gritty texture if the skins are not removed before pureeing and dehydrating.
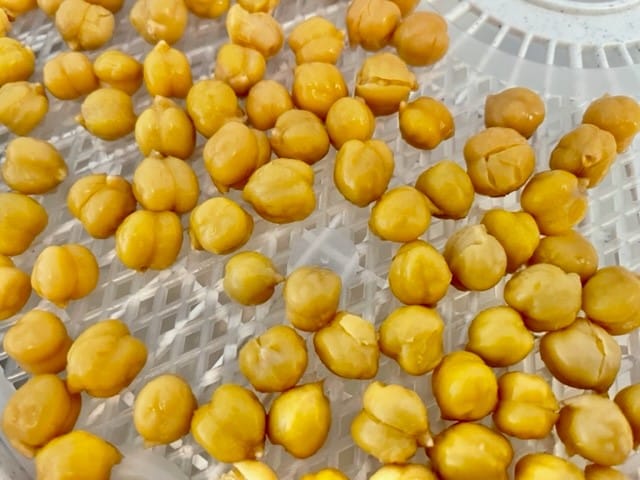
Step Two: Prepare the trays.
- Spread the chickpeas onto dehydrator trays using mesh tray liners or parchment paper. Fruit roll sheets may also be used.
- Tray liners are not necessary if using freeze-dryer trays.
Step Three: Begin the drying process.
- Dehydrate at 145℉ (63℃).
- After an hour or two, stir the chickpeas to ensure even drying on all surfaces.
- If freeze-drying, start the freeze-dryer and allow it to run its cycle.
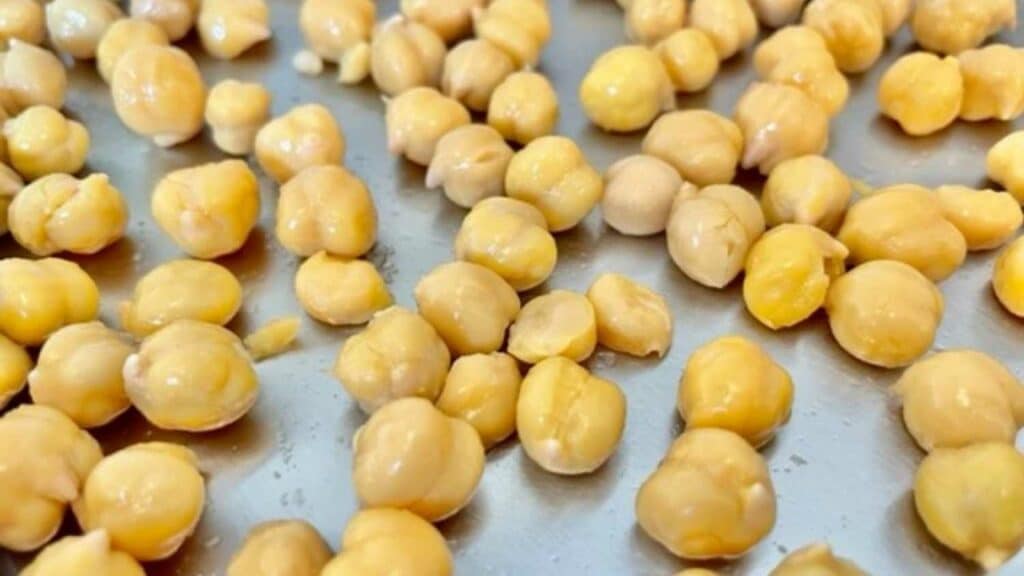
Step 4: The chickpeas are done when completely dry.
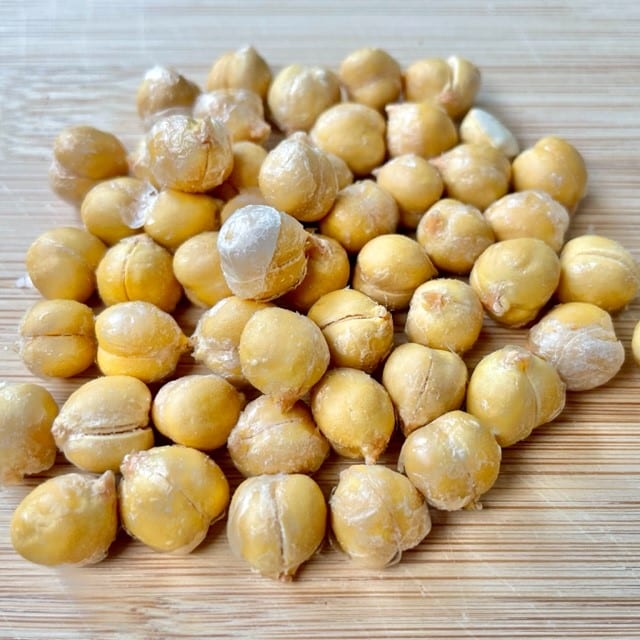
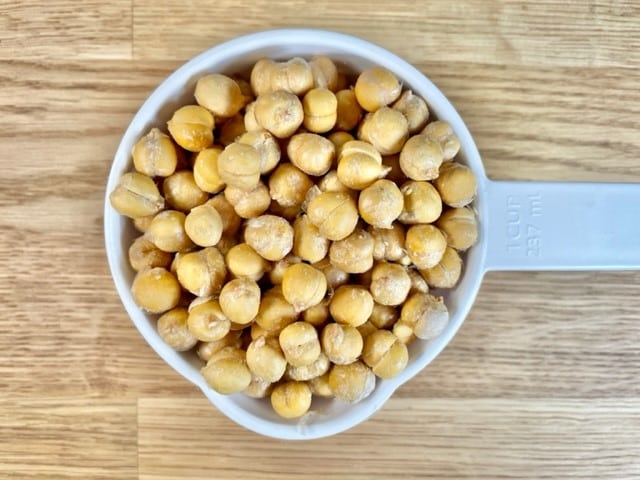
- The dehydration process will take approximately 8-24 hours, depending on the humidity. They are done when they feel hard and dry to the touch. The chickpeas may crack open as the skins dry.
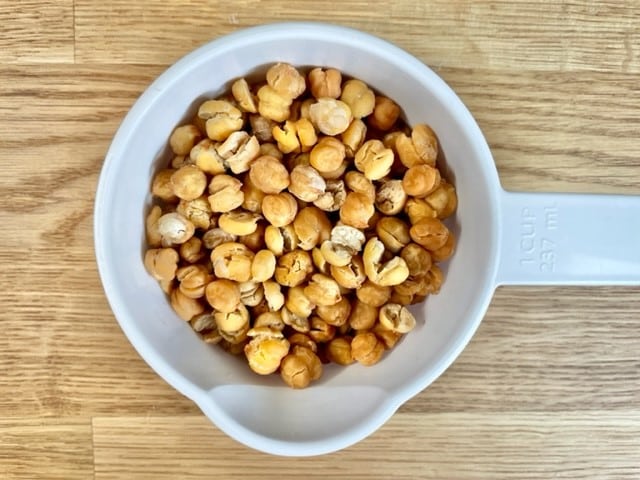
- The freeze-drying process will take approximately 12-15 hours.
Step Five: Prepare the dried chickpeas for long-term storage.
- For dehydrated chickpeas, allow them to cool for 30-60 minutes. Then, package them in an air-tight container.
- For freeze-dried chickpeas, package them immediately in an air-tight container.
- You can grind dehydrated chickpeas to a powder using a coffee grinder or a bullet-type blender (optional). This may reduce the time needed to rehydrate.
- Once dried, the chickpeas will reabsorb moisture from the air, so do not leave them out for more than an hour.
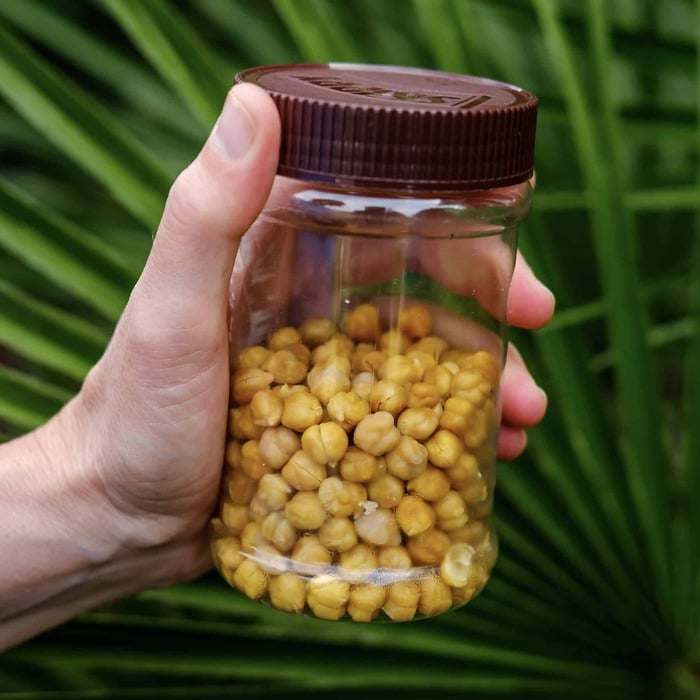
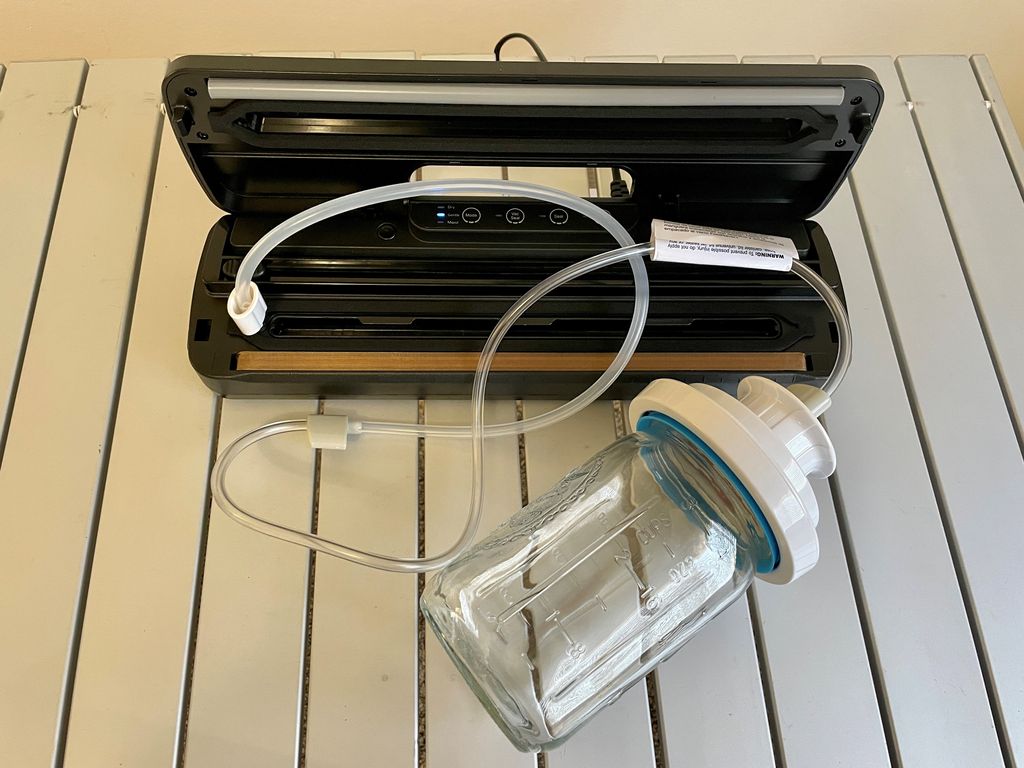
- To lengthen the shelf life of the chickpeas, consider vacuum sealing them in vacuum seal bags, mylar bags, or mason jars.
- You can purchase a mason jar vacuum sealer accessory online.
- Also, consider adding an oxygen absorber. Oxygen absorbers will remove any extra oxygen from your container.
What is the yield?
- A 15-ounce (425 g) can of chickpeas provides about 1 cup of canned chickpeas, 3/4 cup of dehydrated chickpeas, and 1 cup of freeze-dried chickpeas.

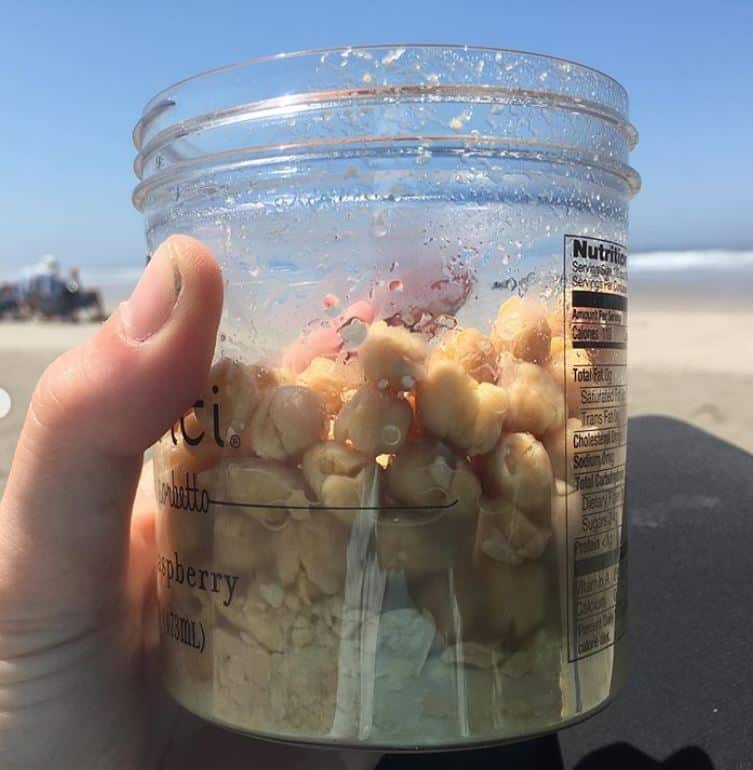
How do you rehydrate dried chickpeas?
- Add hot water and cover for 10-20 minutes for whole chickpeas.
- Cold water can also rehydrate whole chickpeas, a process that can take up to 2 hours.
- Powdered chickpeas rehydrate almost instantaneously with hot or cold water.
How long will dehydrated or freeze-dried chickpeas last?
- Dehydrated chickpeas can be stored for up to 6 months in an airtight container. Keep in a cool, dry, dark area.
- You can store freeze-dried chickpeas for 10-15 years when vacuum-sealed with an oxygen absorber.
Safety Considerations
- Legumes like chickpeas can be affected by a bacterium (Bacillus cereus) that can survive cooking and cause food poisoning with vomiting and diarrhea.
- This bacterium thrives at temperatures between 59 and 122℉ (15 and 50℃). For this reason, dehydrate chickpeas at no lower than 145℉ (63℃).

How do I use dehydrated or freeze-dried chickpeas in backpacking meals?
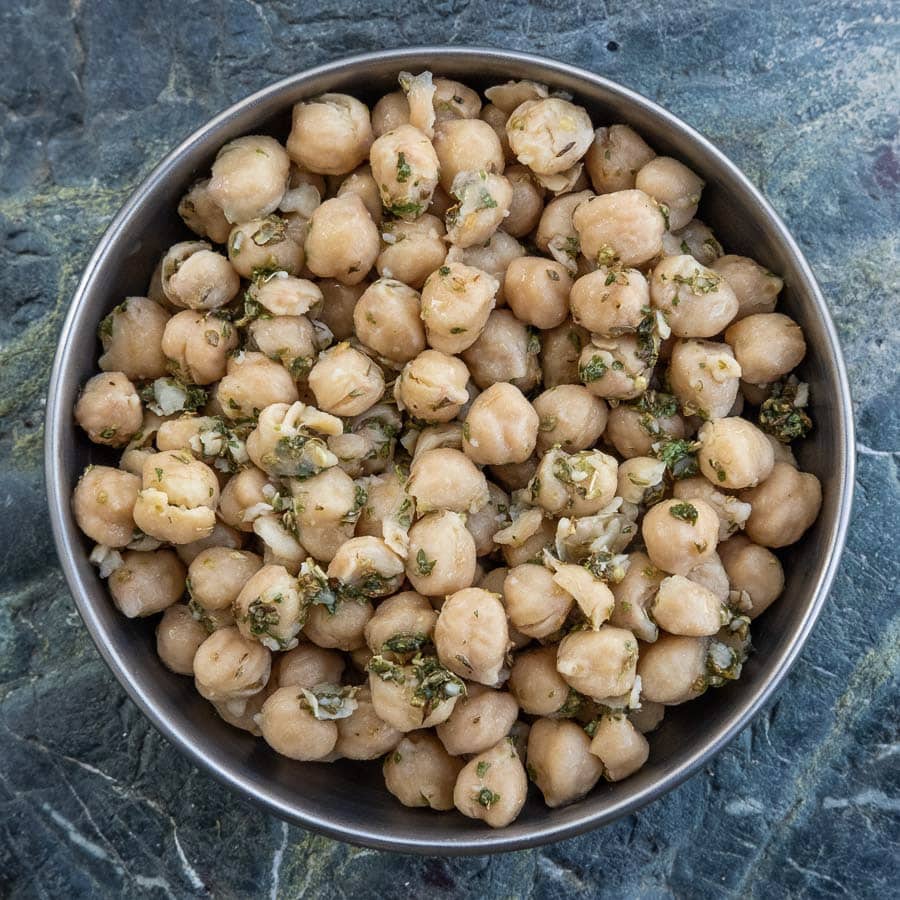
Dried chickpeas can be used in a wide variety of backpacking meals. They can replace freeze-dried meat as a protein, serve as the base for hummus (or variations like our Brownie Batter Hummus), or be enjoyed cold as part of a salad.
Here are a few of our favorite recipes using dried chickpeas:


Dreaming about owning a freeze-dryer but afraid to take the leap?
You’re not alone! I drooled over Harvest Right freeze-dryers for FIVE years before finally biting the bullet and investing in one. I’m happy to share that my unit has been worth every bit of the investment!
As a number-crunching dietitian, I’ve calculated the cost savings for every batch. Some time-intensive foods, like apples (washing, peeling, coring, chopping), are not cost-effective when freeze-dried at home. However, other foods, such as freeze-dried cheese, can be prepared at home for a third of the cost of commercially dried cheese. The final product of home freeze-dried foods is also far superior to commercially dried foods. See the example of the blueberries below…
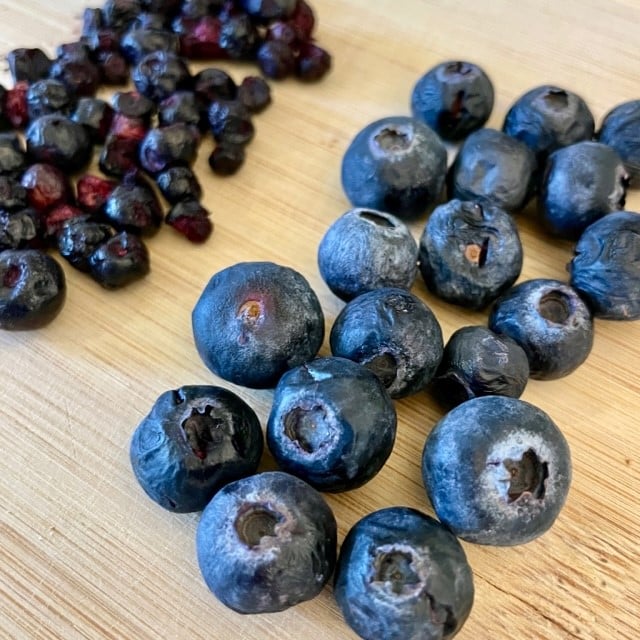
Home Freeze-Dried Blueberries (right)
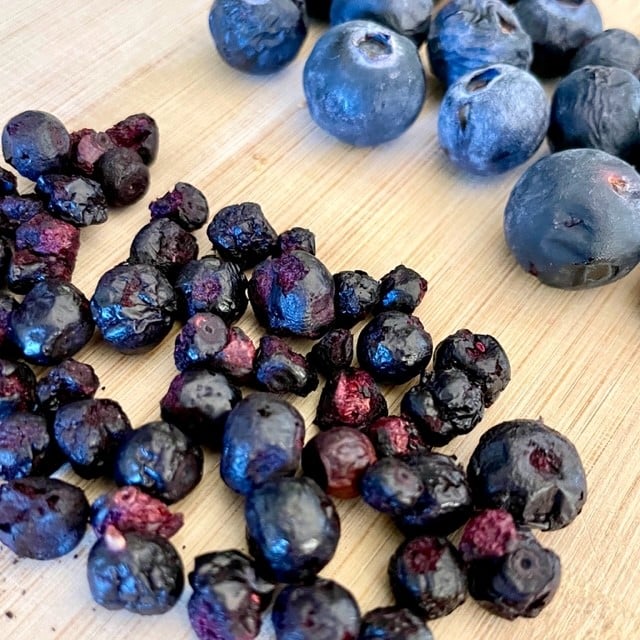
Commercially Freeze-Dried Blueberries (left)
Home freeze-drying also allows you to dry foods that would otherwise go to waste. I don’t know about your household, but we never seem to consume all of the produce before it goes bad. By drying produce instead of tossing it, my backpacking meal ingredient supply grows without having to purchase new commercially dried ingredients later. Reduce food waste and save money. Win-win!
Click here to learn more about Harvest Right’s product. Feel free to contact me before purchasing one and ask any questions you may have. I am happy to share my experience.
Wait, there’s more!
We’re here to make the meal planning process for adventures as easy as possible.
Backcountry Foodie is your go-to resource for over 250 dietitian-created backpacking recipes and a one-of-a-kind automated meal-planning tool. The meal planner even creates itemized shopping lists for you! Meal prep has never been easier.

Did you find this post helpful?
Pin it and share it with your fellow hikers.

Are you new to dehydrating food for backpacking meals?
Consider checking out these posts:
- How to Dehydrate Strawberries for Backpacking Meals
- How to Safely Dehydrate Canned Tuna for Backpacking Meals
- How to Safely Dehydrate Tofu for Backpacking Meals
- How to Dehydrate Green Onions for Backpacking Meals
- How to Dehydrate Mushrooms for Backpacking Meals
- How to Dehydrate & Freeze-Dry Cheese for Backpacking Meals
Resources:
- Blakey, Linda and FG Priest. “The Occurrence of Bacillus cereus in some Dried Foods Including Pulses and Cereals.”Journal of Applied Bacteriology, 1980.
- MacKenzie, Jennifer, Jay Nutt, and Don Mercer. The Complete Trail Food Cookbook. Robert Rose, 2010.
- McCallister, Glenn. Recipes for Adventure. Glenn McCallister, 2013.
- USDA. “Freezing and Food Safety.” Accessed 12/28/2020.


5 Comments
I had freeze dried honey roasted chick peas this Christmas. At least I thought they were freeze dried. Maybe dehydrated, I don’t know. I can’t find them again. So I will be experimenting this February, 2025 with both. Hope one turns out.
Hey! Those favourite recipes you listed, anywhere I can see the ingredients/guide for those? ?
The recipes are included in our Recipes and Meal Planner Memberships. https://backcountryfoodie.com/membership/
Thank you for the how to. If I want to make wasabi chickpeas or cinnamon sugar chickpeas, can I add these seasonings prior to freeze drying? Or should I do this after opening my mylar bag when ready to eat?
That’s a really good question! We haven’t tried adding spices prior to freeze-drying. Doing so shouldn’t alter the process and wouldn’t decrease the nutrition of your spices. However, we question whether or not the spices would stick. If they don’t, you could always bring some extra seasonings for the trail and use a little oil to help them stick then. If you try adding spices first, please let us know how it goes!